Background
If you find this free trail guide useful, please provide payment by picking up at least one piece of litter on your hike. Cha-ching! Thanks for being awesome! (And here’s a quick primer on Leave No Trace, too, to help us keep the trails nice and fresh for each other.)
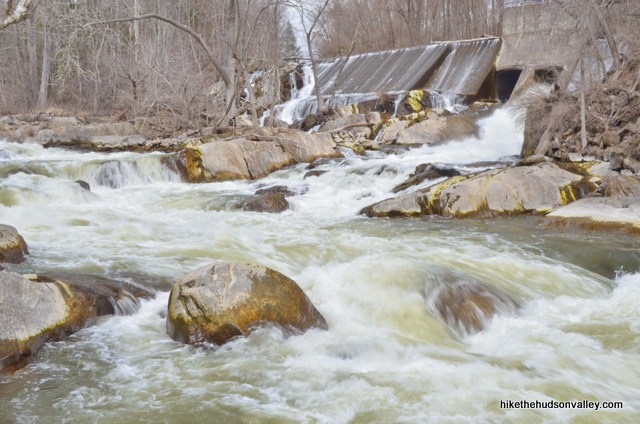
Background you can feel free to skip: I have mixed emotions about putting up a Bull’s Bridge trail guide. On the one hand, Bull’s Bridge is a gorgeous natural area with so many great spots to explore.
On the other hand, this place already gets more traffic than it can handle, as discussed in these articles:
- Amid Hot Summer, Use of Popular Bull’s Bridge Recreational Areas Leaves Kent Overwhelmed by Trash
- Some Progress Has Been Made With Littering, Other Problems, at Bull’s Bridge in Kent
Most of the problems with congestion happen in the vicinity immediately surrounding Bull’s Bridge itself. The issue here is that you can see some beautiful sights without getting out of eyeshot of your car, so without expending any effort, pretty much anybody can enjoy this spot, and many, many do. (For those who choose to litter while they’re here, we can only hope that karma is real.)
As you head south on the Appalachian Trail away from Bull’s Bridge, though, you’ll leave most of the crowds behind. In fact, if you decide to climb Ten Mile Hill for the small but pleasant views to be found up there, you may even find some solitude, especially if you visit at an off-peak time.
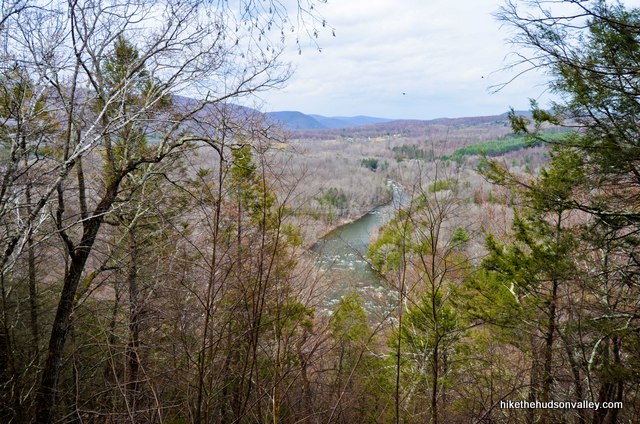
I absolutely recommend coming to Bull’s Bridge – the rushing waters of the Housatonic are like nothing else in the area, and the section of Appalachian Trail that meanders along the shore (sometimes wandering high above the water) is a pleasure for this entire stretch.
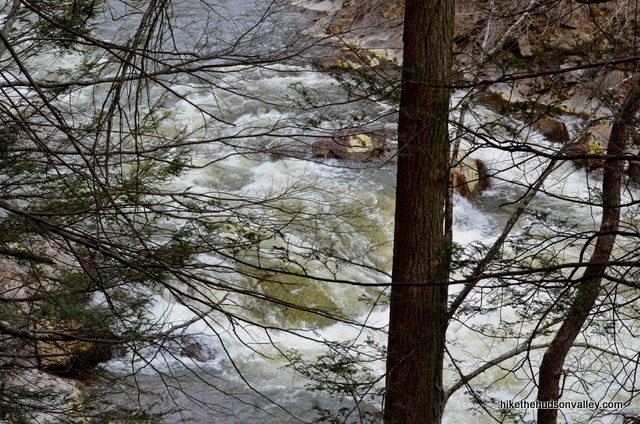
I also recommend coming here on an evening, early morning or weekday, if you can swing it – this place gets mobbed on summer weekends, and parking can be impossible. You’ll have a better experience if you visit when the rest of the world isn’t here, too.
If you do visit, please treat this river with respect. The churning Housatonic has claimed many lives, and these headlines serve as reminders to keep a safe distance:
- New York Man Drowns At Bull’s Bridge
- Mahopac teen drowns near Bulls Bridge
- NY man dies in Housatonic River
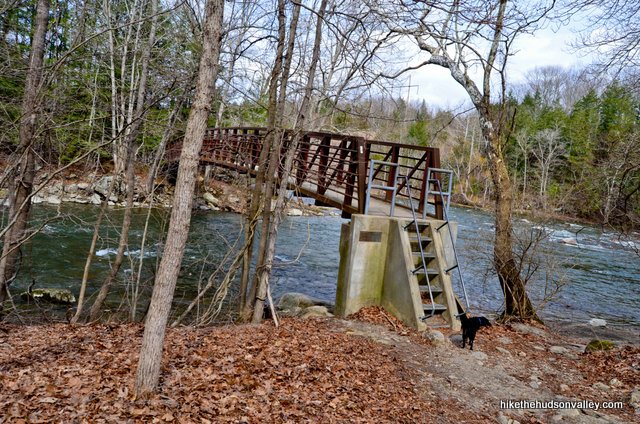
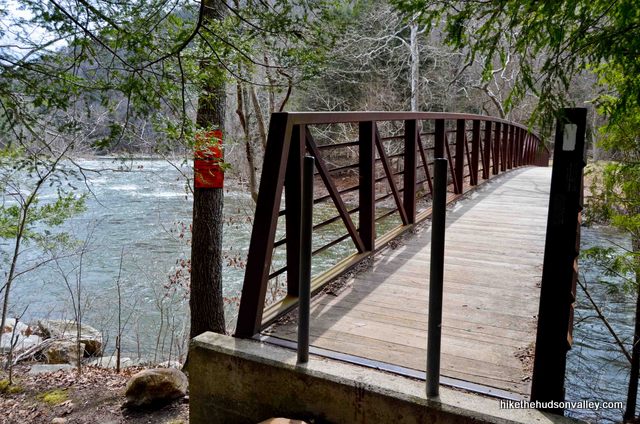
Once you decide to visit this spot (and to exercise caution while you’re here), the trail guide below gives a few different options for your trip to Bull’s Bridge. The easiest option that still hits several highlights is the 2.6-mile roundtrip stroll to Anderson Memorial Bridge, a footbridge that spans the fast-moving Ten Mile River as it enters the Housatonic. It’s a very pleasant spot to hang out for a few minutes, and perhaps play a few extremely quick rounds of Poohsticks.
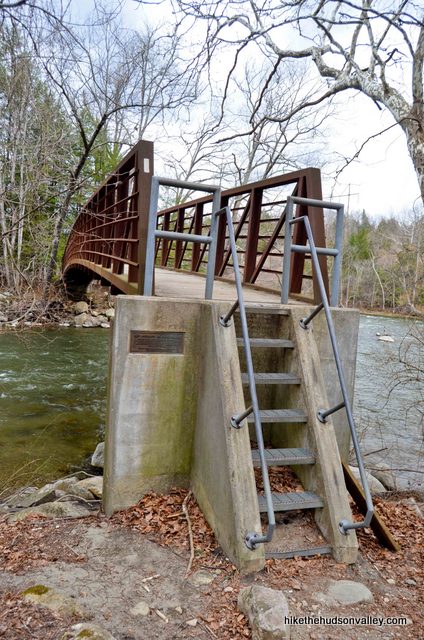
Note for dog people: I had to carry my fifty-pound dog down (and back up) the steps on the far side of Anderson Memorial Bridge – the stairs are very steep, and she was too scared to try. It wouldn’t be impossible for a less cautious dog to negotiate these steps, but be prepared for the possibility of an awkward dog-carry if you plan to motor past the bridge with your canine companion.
If you’re looking for more exercise, you can climb Ten Mile Hill, just beyond Anderson Memorial Bridge, for some decent (but not huge) views – if you go that route, the minimum roundtrip will be 4.8 miles, up to 6.8 miles if you hit all three overlooks up there. I’ll give my recommendations (and mileage and elevation changes) in the trail guide below to help you decide which options work best for you. (The default version of this hike assumes that you’ll take my recommendation below to visit the first decent – but not the closest – overlook, which is why this hike is listed as a 5.1-mile roundtrip on The Hikes page.)
However much of a hike you decide to tackle while you’re here, Bull’s Bridge should definitely occupy a spot near the top of your to-do list. Just don’t be surprised if it’s on a few other people’s lists, too.
Trail Guide
Bonus unsolicited advice: Don't depend on having cell service in the woods - it can be spotty out there! Download this trail guide to your phone before you head out. (It's easy to do on iPhone and Android.) May your connection to nature be strong, even when your connection to the internet is weak.
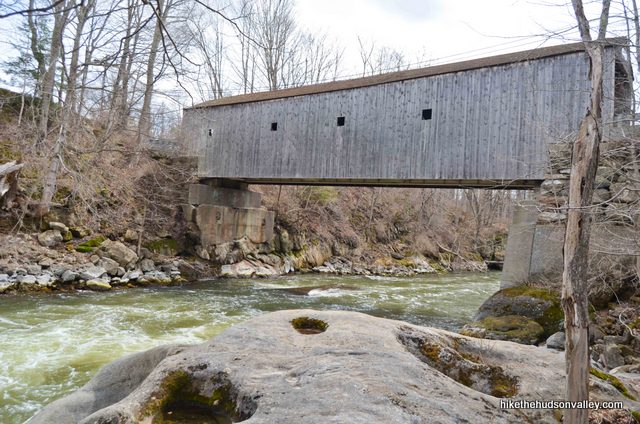
1. From the parking lot on the east side of Bull’s Bridge (see “Directions to the trailhead” below), head toward the upstream side of the old covered bridge, on the west side of the river (the left side if you’re facing upstream). You’ll need to carefully walk across Bull’s Bridge, being mindful that there’s not a ton of room in there to avoid getting run over.
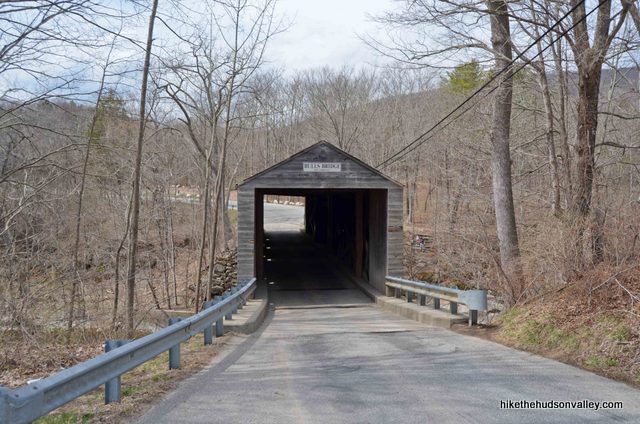
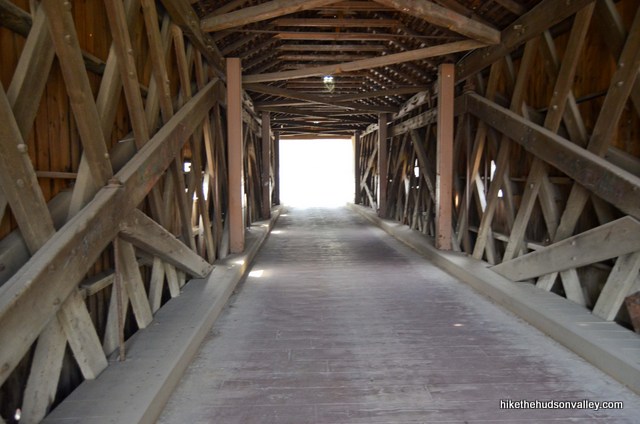
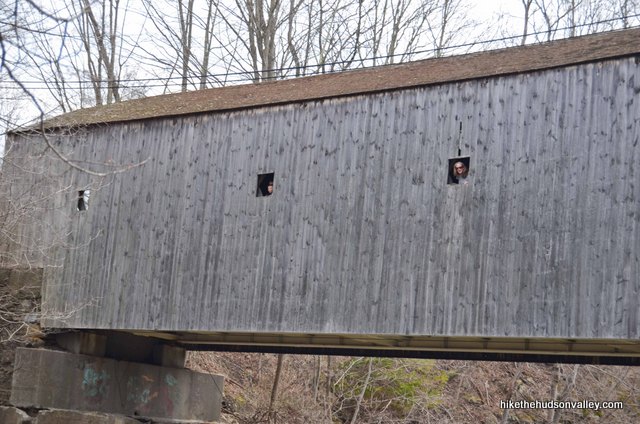
If you can do so safely, take a moment to check out the view upstream through one of the window-holes. (And be sure to stick your head out to photobomb all the people below taking pictures of the bridge.)
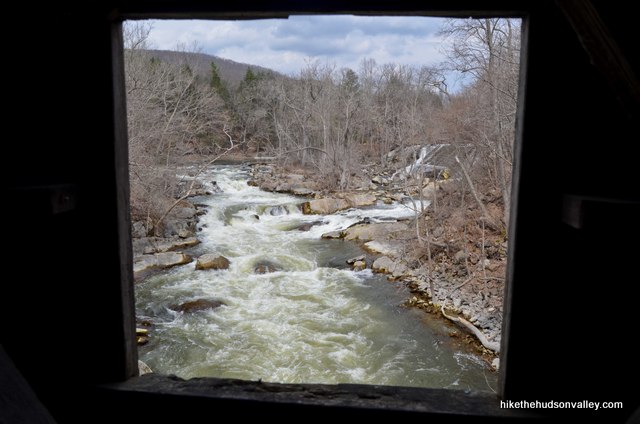
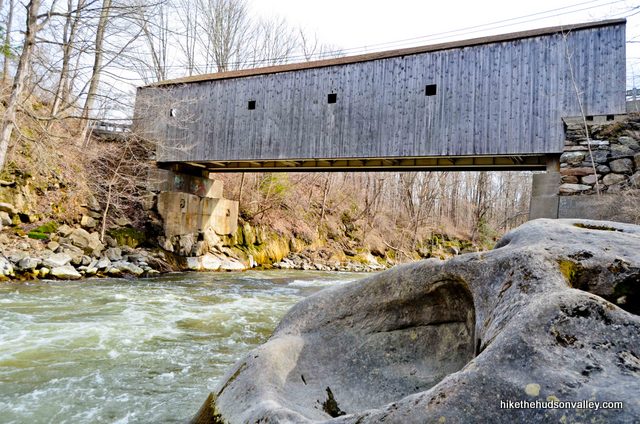
2. On the upstream, west side of the bridge, you’ll find stairs that lead down to some rocks beside the river, which is the best vantage point for checking out both the bridge itself and the rushing water from Bull’s Bridge Dam above. Careful down there! This water is not messing around.
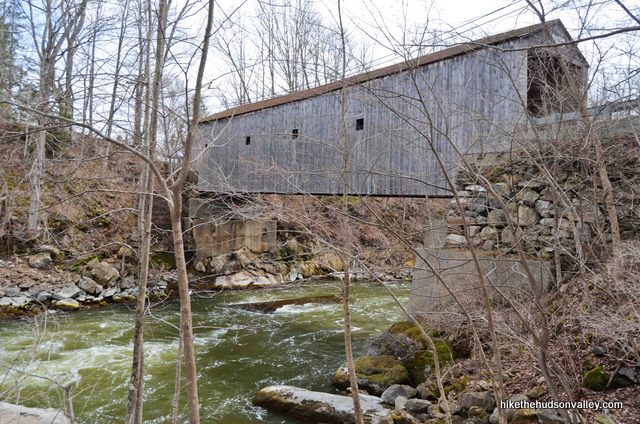
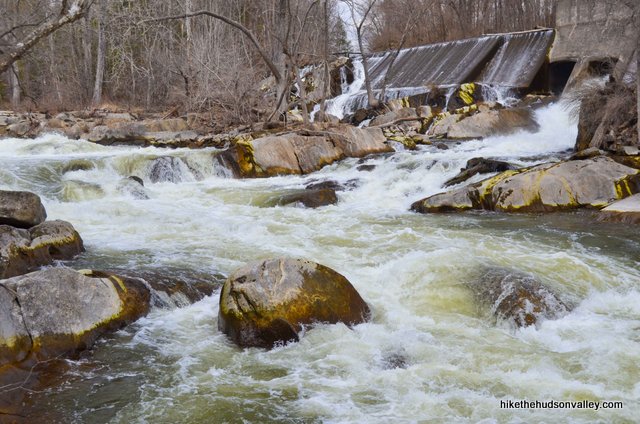
Did you photobomb anyone while you were on the bridge? Payback time.
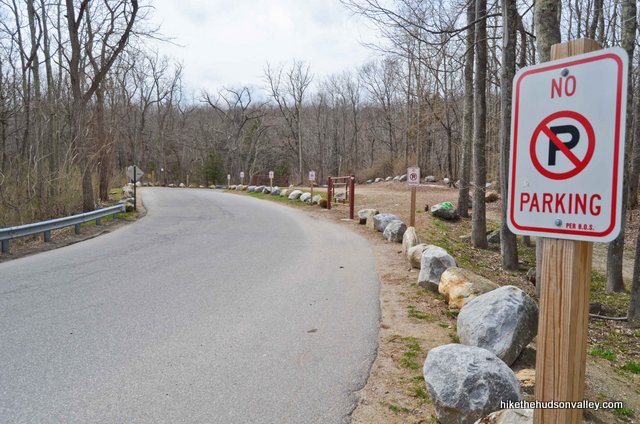
3. After you’re done checking out Bull’s Bridge, head back up to the road and turn right (west), walking away from Bull’s Bridge. While you won’t find trail markers here, the plentiful NO PARKING signs help guide your way.
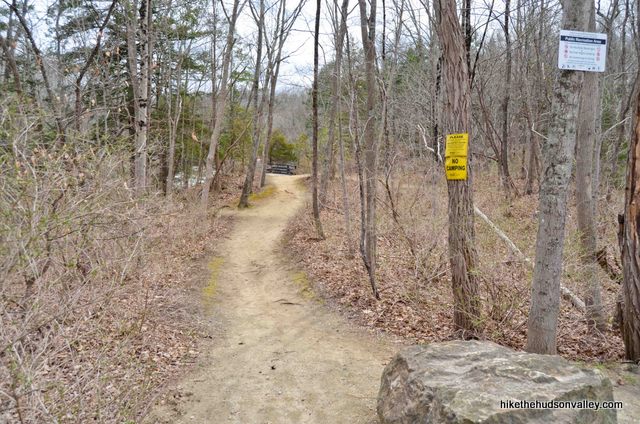
4. In just a moment, keep an eye out for a well-trodden path on your left. Walk down this path for a very short little side expedition to a viewing platform with a great view downstream.
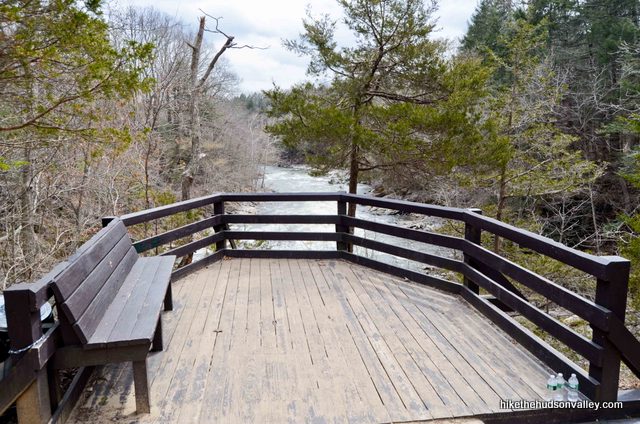
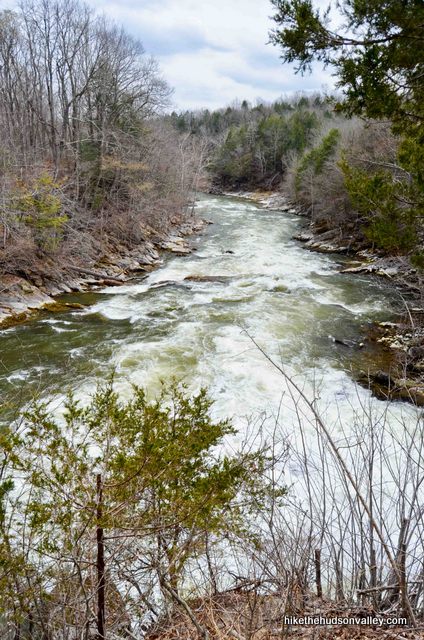
5. After you’re done on the platform, head back out to the road and turn left, continuing the way you were going.
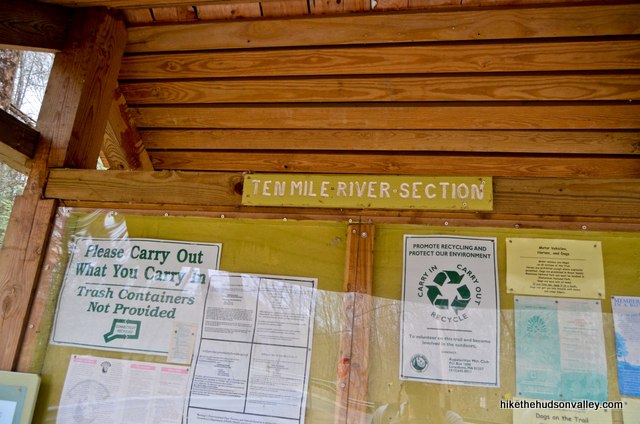
6. Hop on the sidewalk to cross over some more quickly moving water, then turn left at the green gate and Ten Mile River Section kiosk. Feel free to peruse the kiosk before continuing down the trail. Might as well learn something while we’re here.
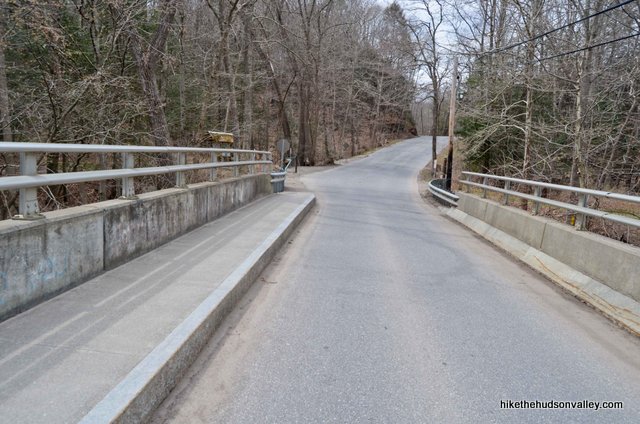
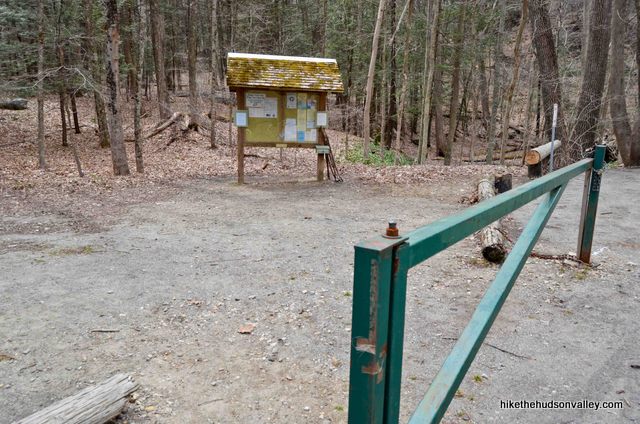
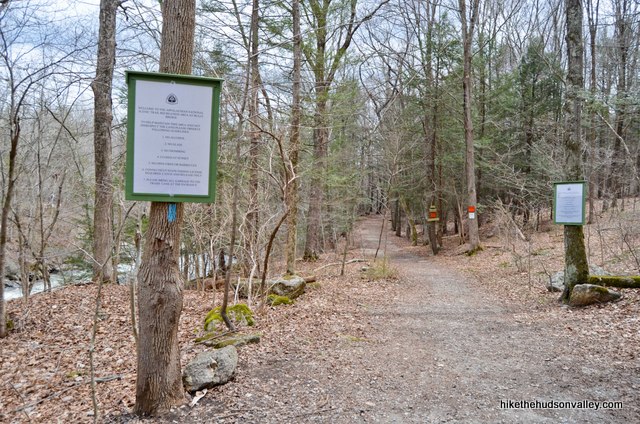
7. You’re now following the blue blazes of a little spur trail that will connect you to the Appalachian Trail in just a few minutes. Take a moment to read the clearly posted rules of the trail.
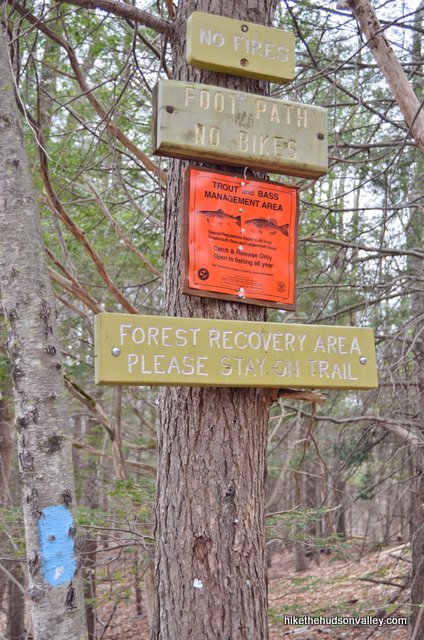
You may see other people today ignoring the admonitions to “PLEASE STAY ON TRAIL”, but you would never do that, because you understand the importance of careful land management in a sensitive natural area like this, so I won’t even mention it. Thanks for being awesome.
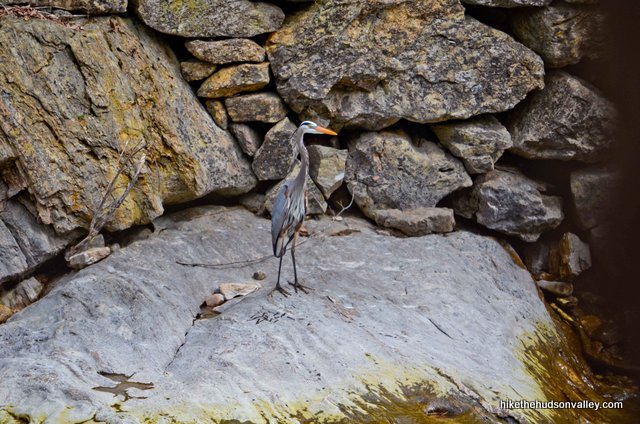
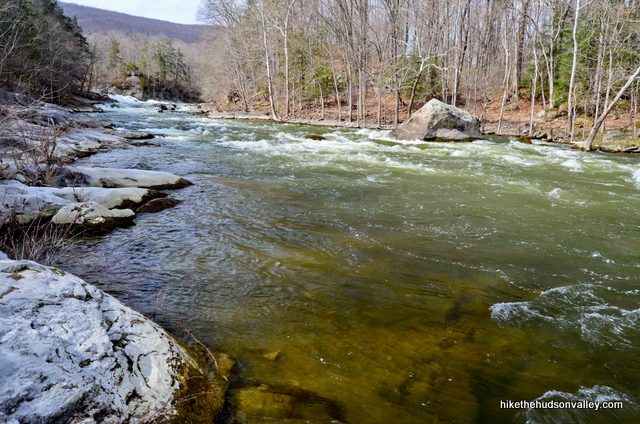
8. Follow the Blue Trail as it ambles along beside the Housatonic. Wave to any blue herons you may see across the river.
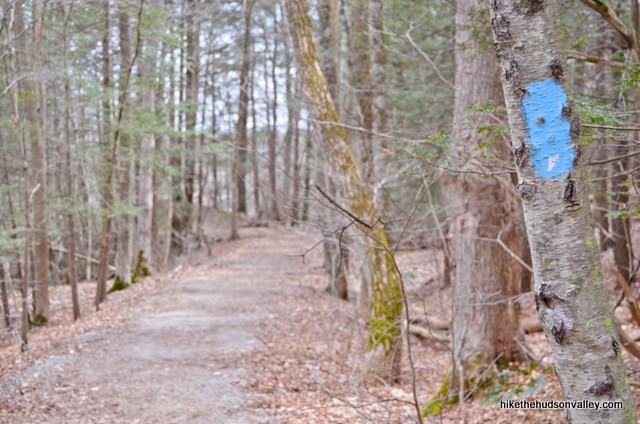
In just a few minutes, you’ll see a trail heading down to your left, visiting the water’s edge. If you’d like, hop down here to check it out, then hop back up to continue along your way on the Blue Trail.

9. In a minute or two after the side trail down to the water, you’ll see the white-blazed Appalachian Trail (henceforth referred to as the White Trail) joining you from the right. The Blue Trail ends here, and you’ll be following the White Trail for most of the remainder of your journey (or all of it, depending on how far you choose to go).
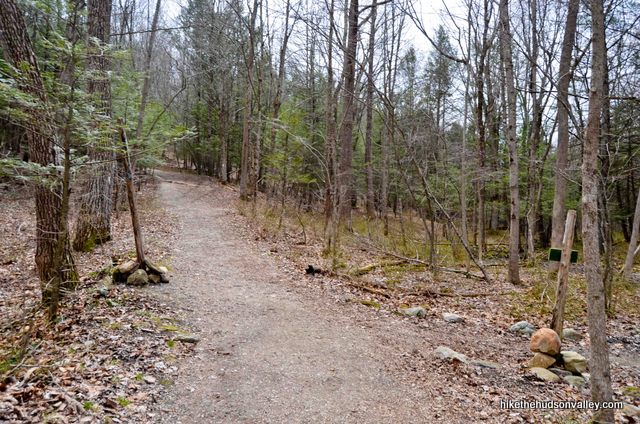
This intersection is most notable in that it’s a great place to get lost on your way back. As you pass by, check behind you so you’ll recognize this spot later, and remember to turn right onto the Blue Trail to get back to your car at the end of your hike. (I saw people get confused at this spot during my last visit.)
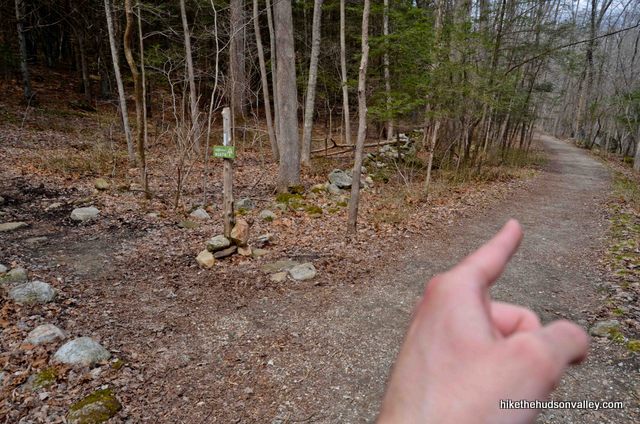
Otherwise, onward and upward on the White Trail!
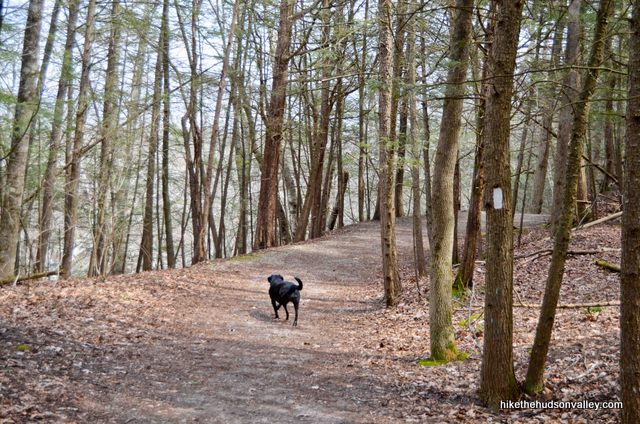
10. From here, it’s a straight shot all the way to the Anderson Memorial Footbridge, which is coming up in .8 miles, with some rolling hills in-between. Ignore any other trails you see (there are some unmarked ones in the area) and just follow those white blazes.
Just before the bridge, there’s one more river access point with a little beach. If you’re not a human, you may want to carefully cool off here, but please be mindful of the very swift current. This is not a place for throwing sticks.
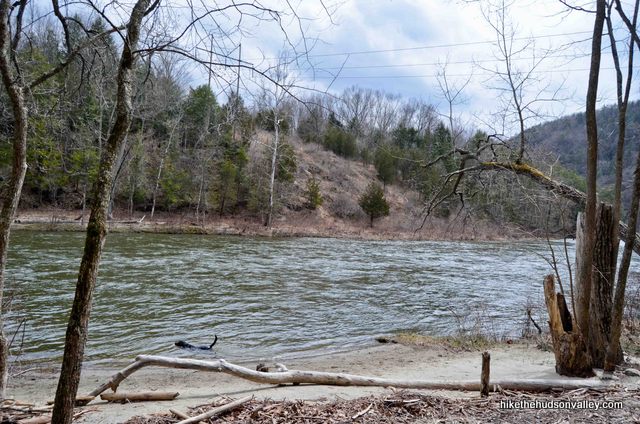
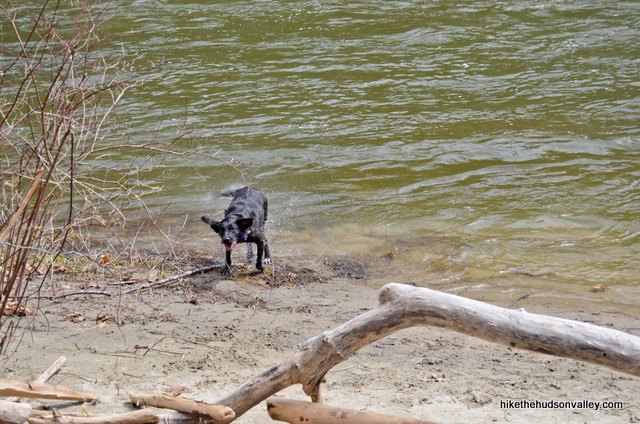
And then, just a couple minutes after that mini-beach, voila! A bridge over burbling waters, where Ten Mile River enters the Housatonic.
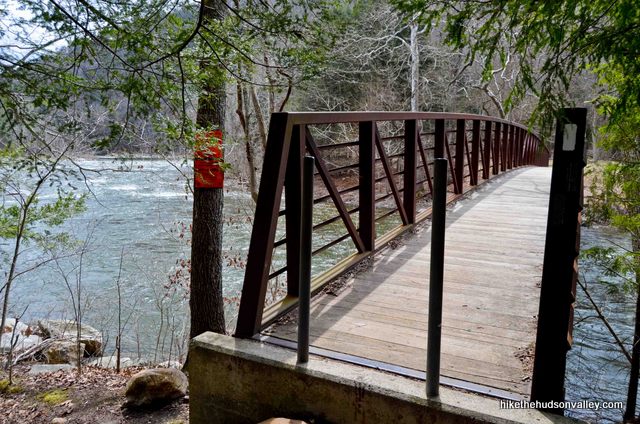
What a pleasant place to stop and watch the water flow under your feet. A plaque on the far side of the bridge (down the stairs) tells you that this is the Ned Anderson Memorial Bridge, dedicated to a naturalist who helped blaze and maintain the Appalachian Trail in Connecticut. He sounds like a super-cool dude.
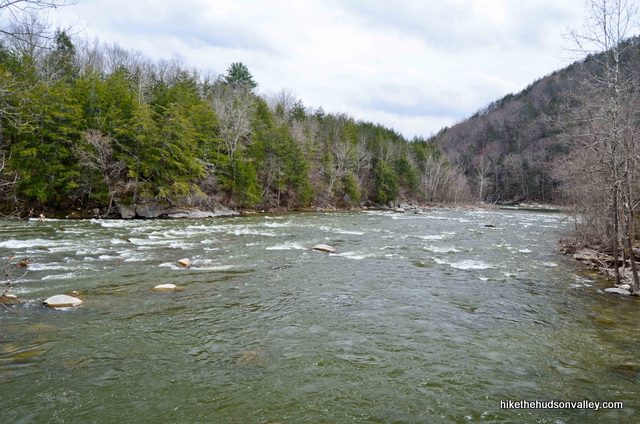
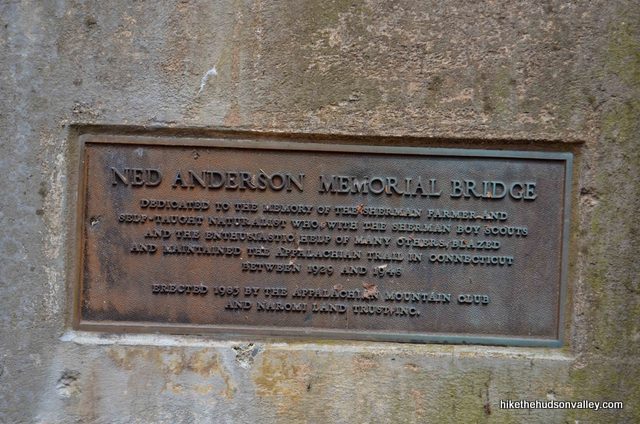
If you choose to turn around here, nobody would blame you. You’ll have strolled a cool 2.6 roundtrip miles today.
If you continue on, things are going to get much sweatier for you. From here, it’s 1.1 miles and 700 vertical feet to the top of Ten Mile Hill. From near the summit, it’s another .35 miles to the first decent view. Your minimum roundtrip distance will be around five miles, up to 6.8 miles if you hit all the overlooks. Up for it? If so, let’s get to it!
If not, you can retrace your steps back to your car now. Hope you enjoyed the day – happy hiking back to your car (and remember to turn right on the Blue Trail when the White Trail ventures off to the left). Oh, and if you wanted to pick up some ice cream and wait for the rest of us in the parking lot, that’d be swell. No pressure, though. Hope to see you again soon! *fistbump*
11. Okay, we’re really doing this thing, aren’t we? Let’s rock.
As I warned above, if you’re hiking with a pooch, she may require some help getting down the far side of the bridge. Mine had to be carried down. What a nice bonding and flailing experience for us.
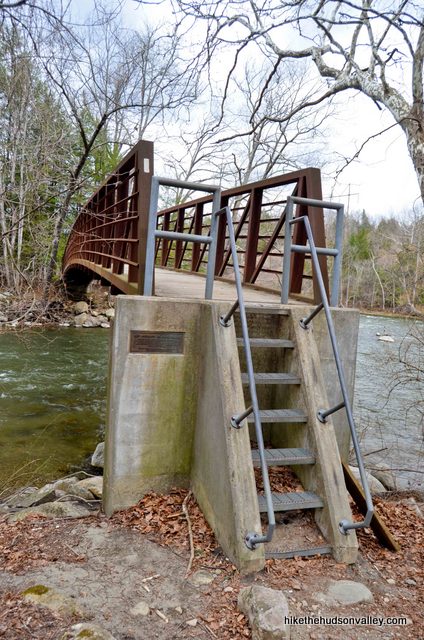
Once you’re down those steps, turn right to follow the White Trail, with Ten Mile River on your right. On your left, you’ll see the open field of the Ten Mile River camping area. (See this Appalachian Trail community forum on Whiteblaze.net for a wide-ranging discussion of this area, if you’re curious.)
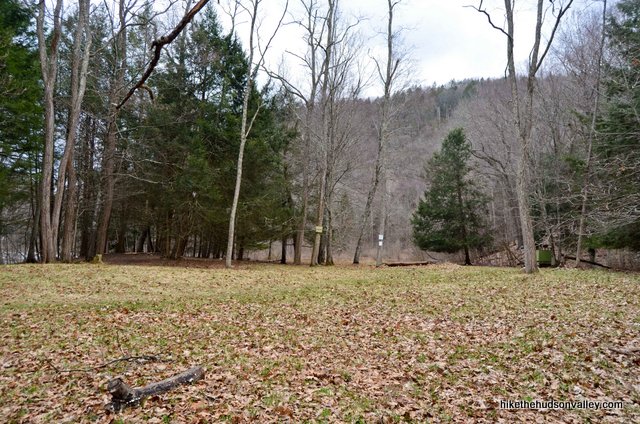
12. As you proceed along the White Trail next to Ten Mile River, you’ll notice yellow blazes on several trees. I believe these are marking the wire fence that seems designed to keep things (us?) out of the water. You can otherwise ignore them.
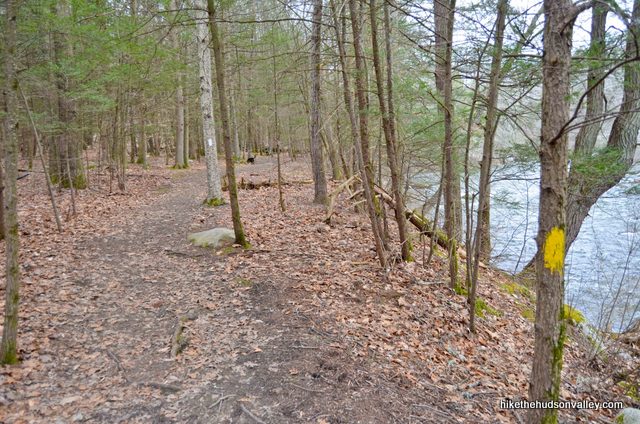
You can also ignore the blue-blazed trail on your left that leads to an Appalachian Trail shelter. Keep following those white blazes, and in just a few minutes, the White Trail bends to the left, away from the river and uphill. Time for some climbing!
13. Enjoy the nice trail features as you ascend 670 feet over the next .9 miles. You might need to stop for a water break or two, but at least you’re not heaving boulders around to build a staircase. (Thank you to the hardworking people who make hikes like this possible. These stairs must have cost gallons of sweat to build.)
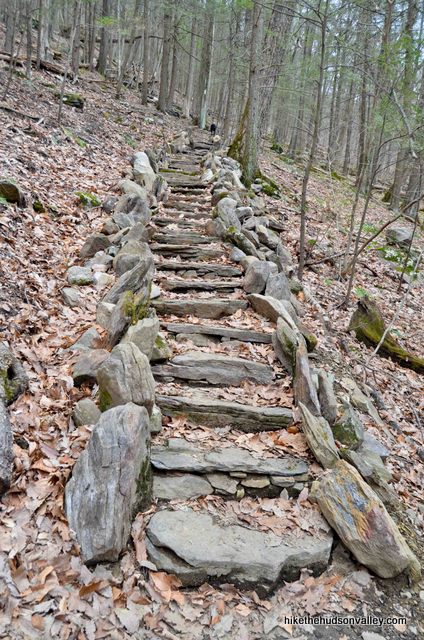
The next milestone is the well-marked junction with the Herrick Trail near the top of the hill, directly after a sharp right bend. See you there!
13. When you come to the Herrick Trail junction, marked with a large wooden sign, it’s decision time!
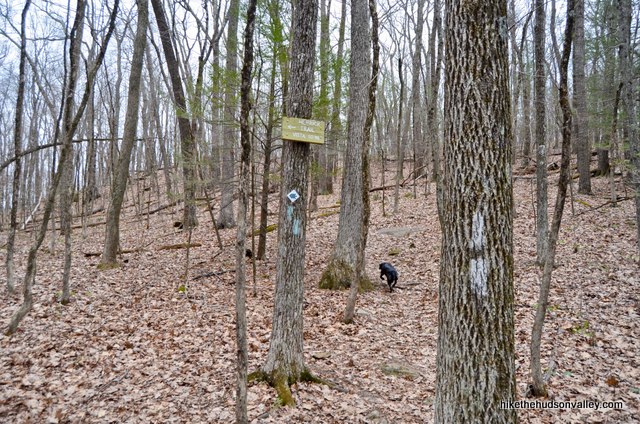
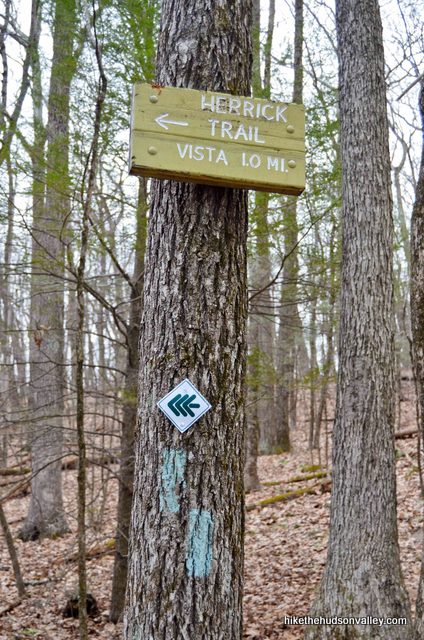
The three viewpoints accessible from this spot are:
a) The summit of Ten Mile Hill, straight ahead on the White Trail, .15 miles and 100 vertical feet from here. Least impressive of the three, in my opinion. I advise skipping it, unless you’d like to officially conquer Ten Mile Hill. When the leaves are on the trees, the view here would be nearly nonexistent.
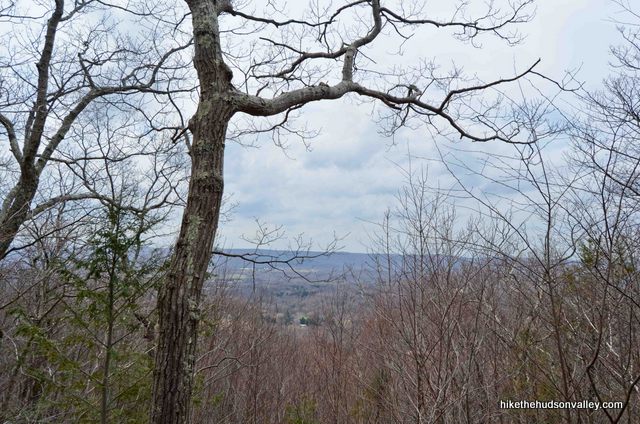
b) A small Housatonic overlook, .3 miles and 216 vertical feet downhill from here, down the Herrick Trail. If you’ve come this far, you should check this one out.
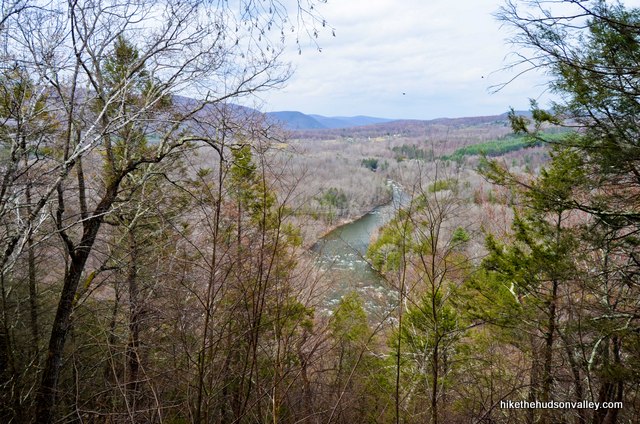
c) Amy’s Lookout, a pleasant little tucked-away spot with a nice view, 1.1 miles from here down the Herrick Trail, with 217 ft of ascent and 413 ft of descent between here and there.
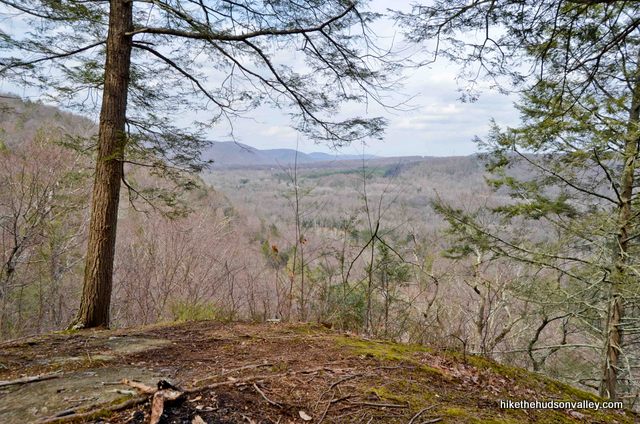
My recommendation? Visit the Housatonic overlook and then see how you’re feeling about visiting Amy’s Lookout, too. Skip the Ten Mile Hill overlook, which I’ll give as an optional step right now.
14. Optional step: Visit the summit of Ten Mile Hill. Continue uphill along the White Trail for .15 miles. As the terrain begins to level out, you’ll see a little unmarked trail (with some very faded blue blazes – faded as of my last visit on 4/14/2014) splitting off to your right, leading to the small overlook in about 100 feet down the unmarked/faded-blue trail.
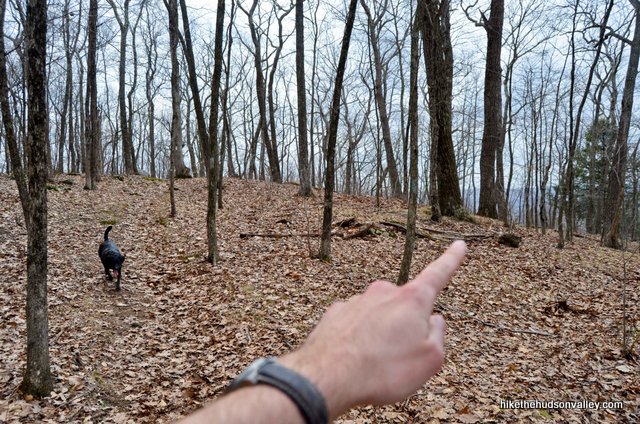
If you miss that trail, you’ll see the much more obvious wooden sign in another minute on your right, marking the summit.
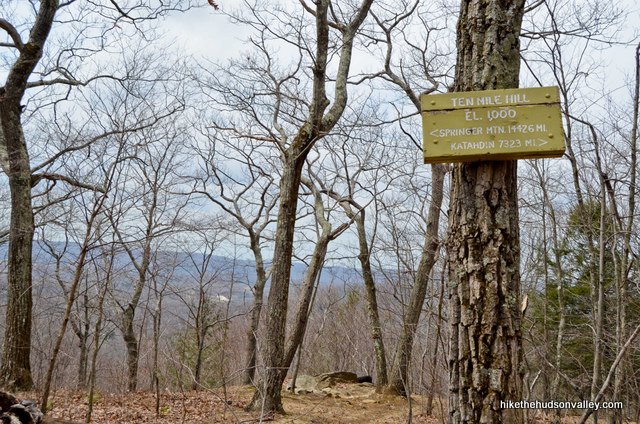
Directly behind this sign, you’ll see some nice rocks with a mostly seasonal view beyond – this is the overlook. Or, more accurately, the “overlook.”
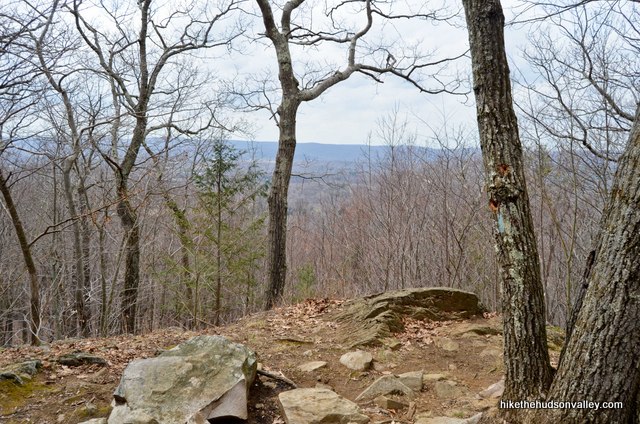
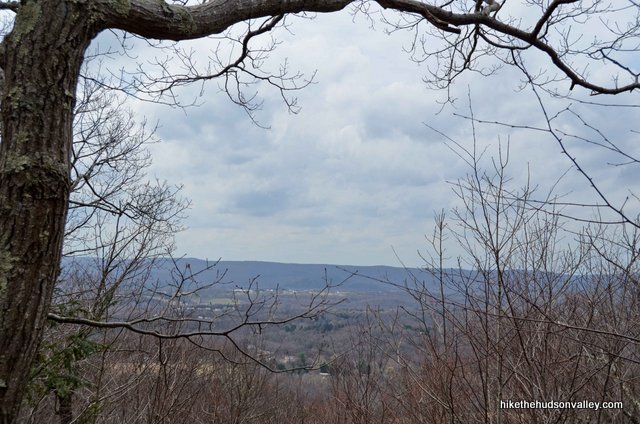
Not a bad place to eat a granola bar. Otherwise, meh. Perhaps I had my expectations a wee too high, but the calories-burned/payoff ratio here is not ideal. But hey, we bagged the summit of Ten Mile Hill, so we’ve got that going for us! When you’re done checking it out, head back down the White Trail to the intersection with the Herrick Trail.
15. Head down the Herrick Trail (left if you didn’t visit the summit of Ten Mile Hill, right if you did – but there’s only one choice at this T-intersection, so I really just wasted your time with this parenthetical – my apologies) for .3 miles to visit the charming Housatonic overlook.
You’ll see both blue blazes and the cool green-and-white blazes of the aptly named Herrick Trail Preserve, which you’re entering now. (And also the occasional yellow blaze thrown in for good measure.)
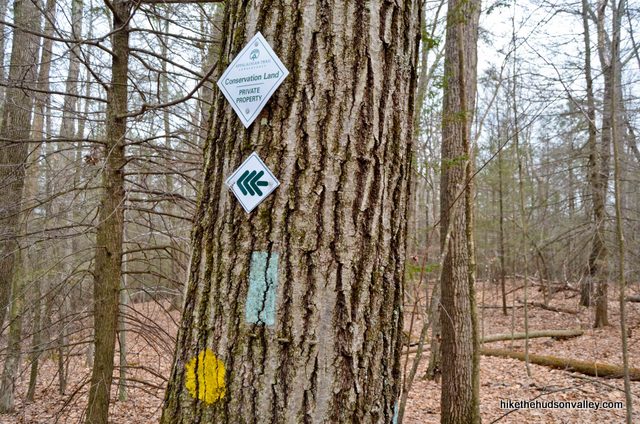
In five minutes or so, when you come to a sign pointing towards EVANS HILL RD and back toward the AT (Appalachian Trail), you’ll also notice another sign marking a spur trail to HOUSATONIC OVERLOOK.
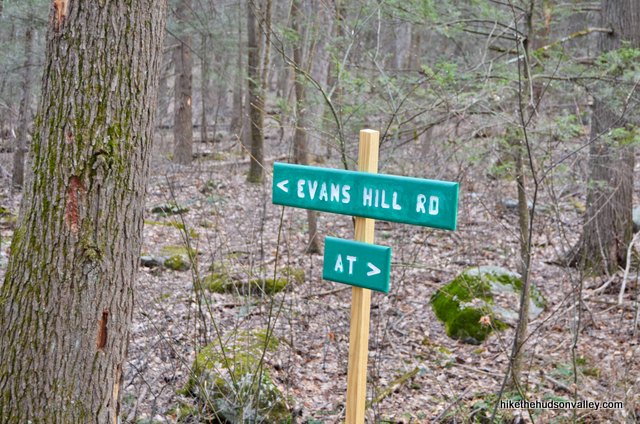
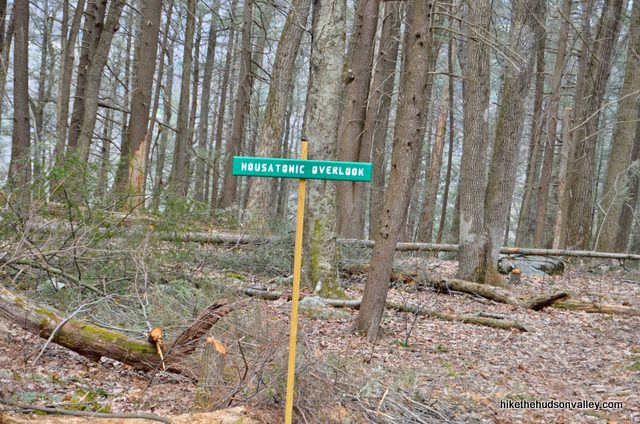
That spur trail is your huckleberry. Head downhill, on the trail toward the Housatonic overlook, and you’ll be there in just a minute.
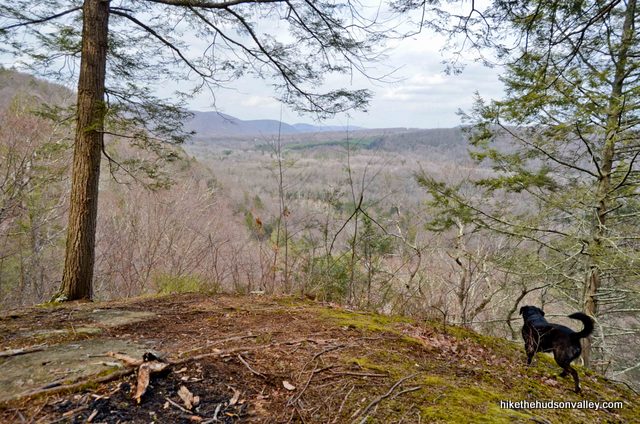
16. Now THIS is an actual view. Take notes, Ten Mile Hill overlook. It’s not huge, but this is a nice payoff for all the sweating you’ve done to get here.
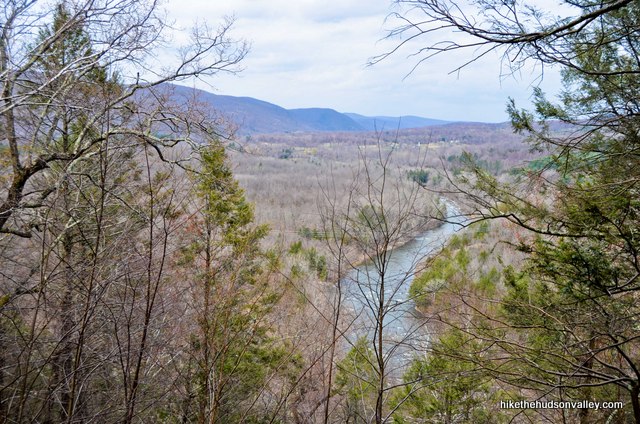
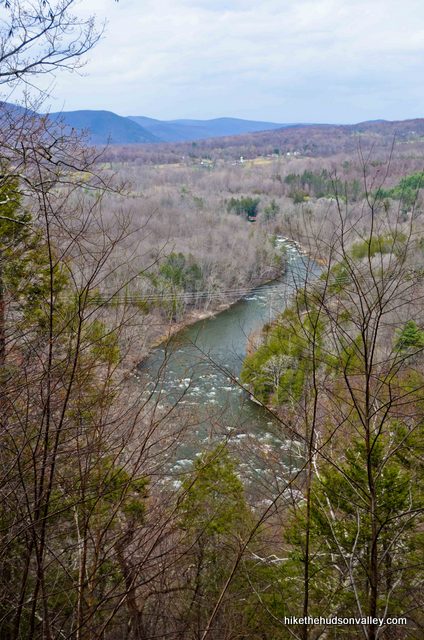
I’ll give you a moment before we start talking turkey again. Nice to see the river from up here, isn’t it?
Okay, break’s over! It’s .8 miles to Amy’s Lookout from here, during which you’ll ascend 200 feet and descend 200 feet. The view there is somewhat similar to here – maybe a little larger, but without the river. It’s also a nicer place to plop down for a few and relax. Turn back now and you’ll have hiked 5.4 roundtrip miles today if you climbed Ten Mile Hill, or 5.1 miles if you took my advice and skipped it. Adding Amy’s Lookout would make it 6.8 or 6.5 miles, respectively. If you have gas in the tank and time to burn, my recommendation would be to visit Amy’s Lookout. You’ve come this far! But it’s totally up to you.
If you turn back now, just head back up to the Herrick Trail and turn right (toward “AT”), then turn right on the White Trail to return home (with that jog on the Blue Trail right at the end).
If you’re motoring on, see you at the next step!
17. Dude, you’re a beast! Okay, let’s do this. Amy’s Lookout, here we come!
Head back up to the Herrick Trail, then turn left to follow the sign toward EVANS HILL RD.
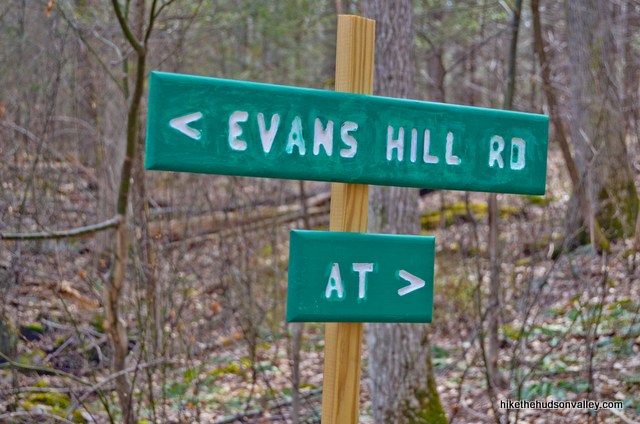
In about 10-15 minutes, keep an eye on your left for the sign for the spur trail to Amy’s Lookout, which is facing the other way (you just see the blank back of a sign when you’re coming from our way). When you see it, turn left to hop on the spur trail to Amy’s Lookout, which is .1 uphill miles from here – took me three minutes to get there.
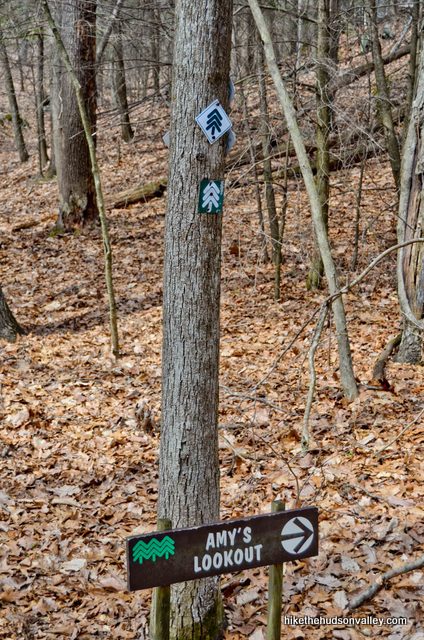
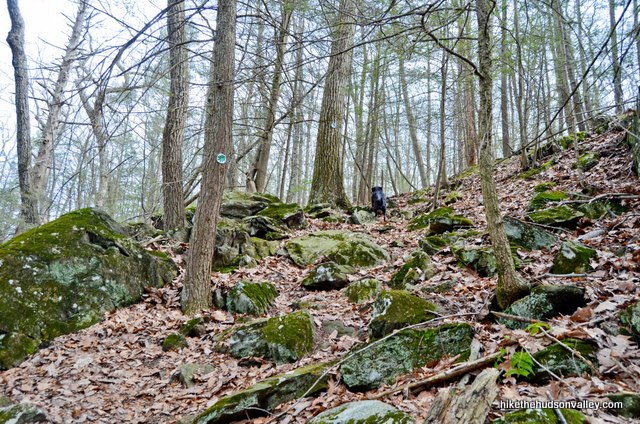
18. Amy’s Lookout is the best spot on this hike to plop down and munch something bad for you. What an agreeable place, with the moss underfoot, the pines overhead and the view straight ahead.
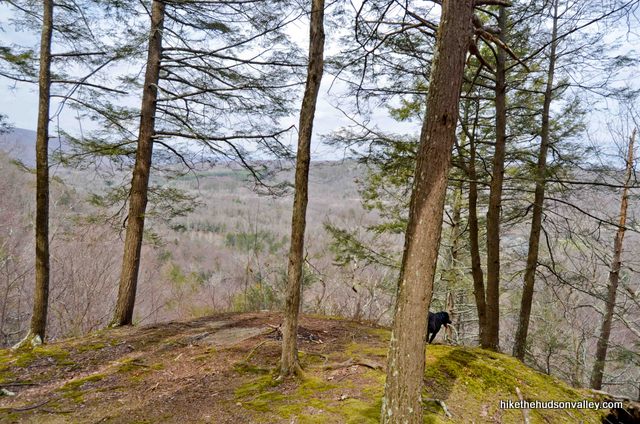
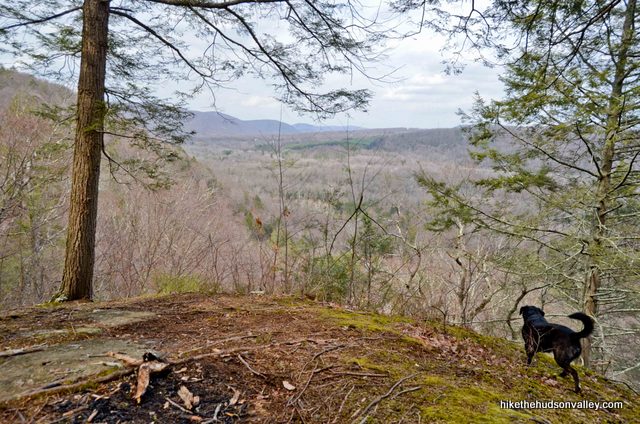
When you’re done taking it all in, retrace your steps back to the junction of the Herrick Trail and White Trail, just below the summit of Ten Mile Hill. (Take a right on the Herrick Trail and follow it all the way back until it dead ends.)
19. Once you’re back at the Herrick Trail/White Trail junction, nothing left to do now but retrace your steps back to Bull’s Bridge and your car.
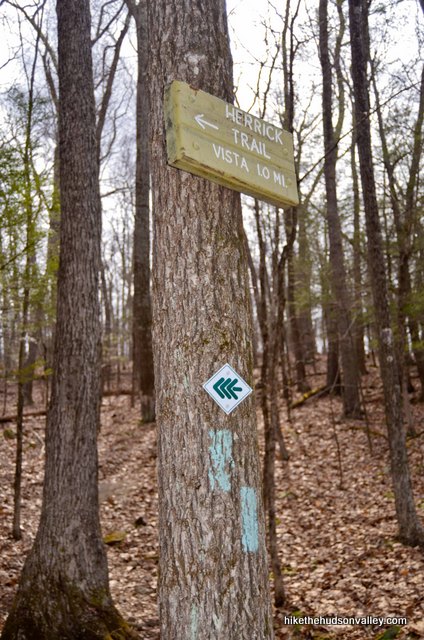 Happy strolling! From this point, it’s 2.1 miles back to the parking lot, almost all of it downhill (except for a few short climbs once you get closer to Bull’s Bridge). Follow the White Trail to the right (downhill) back across Anderson Memorial Bridge. Just before you get back to your car, turn right/straight on the Blue Trail when the White Trail takes a sharp left.
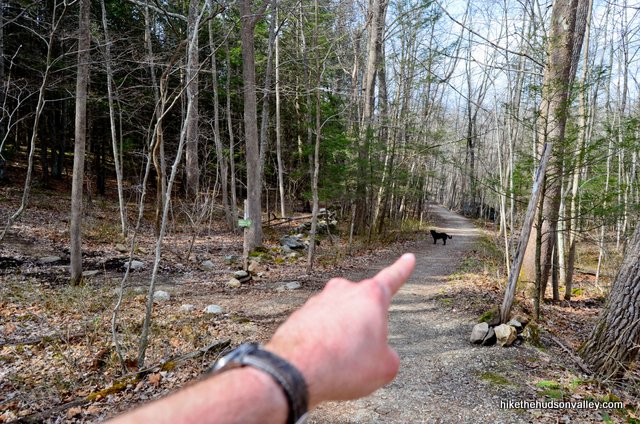 Then take a right when you hit pavement and boom! You’re back! Oh, okay, let’s take one last look at the bridge before we go.
Hope you enjoyed your visit to Bull’s Bridge! If you picked up some litter while you were here, let’s indeed hope that karma is real.
Now where’s that ice cream?
Directions
Directions to the trailhead: From Poughkeepsie, head east on Route 55. 2.3 miles after crossing Rt 82, turn left onto Bruzgul Road. Continue straight on this road as it changes names 17 times for no reason, then dead-ends in the town of Wingdale into Rt 55 (also “Old Route 22”) in about 10 miles. Turn left onto Rt 55. In less than one mile, turn right to stay on Rt 55 (aka Riverview Rd). In .9 miles, turn left onto the awesomely named Dogtail Corners Road. Follow this road for about 3 miles (you’ll need to make two sharp right-hand turns to stay on Dogtail Corners Road, when going straight would put you onto different roads). At a sharp left bend less than a mile from Bull’s Bridge, Dogtail Corners Road becomes Bull’s Bridge Road. Arrive at Bull’s Bridge shortly thereafter, which you’ll recognize by all the people and cars. Oh, and also by the big covered bridge.
On my last visit, the parking area west of the bridge was gated off (I believe it is always this way now, though I’m not sure to what end), and I parked in the ample lot on the east side, immediately after the bridge (on your right just after you come across the bridge).
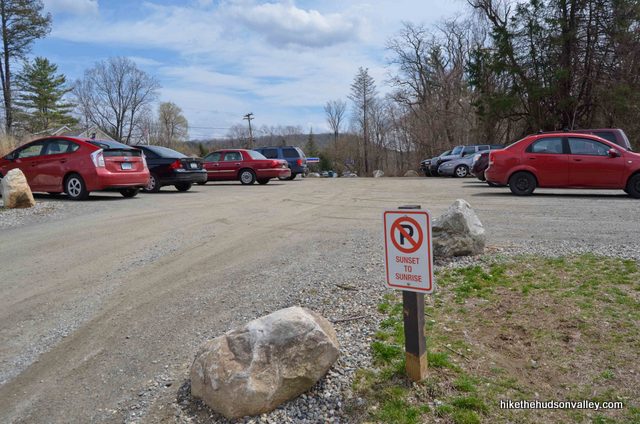
Grab a spot and let the adventure begin!
You can also get directions by checking out the Bull’s Bridge entry on the HiketheHudsonValley.com Google map.
Sorta nearby address for your GPS: The Bull’s Bridge Garage is just south of the intersection of Rt 7 (Kent Rd) and Bull’s Bridge Rd, just yards past the bridge itself. Its address is:
337 Kent Rd
Kent, CT
Putting this address into your GPS will land you within eyeshot of Bull’s Bridge – coming from the west, it’ll take you straight over the bridge. From the east, just head west on Bull’s Bridge Rd from its intersection with Route 7 and park in the lot on the left, just before the bridge itself. Rock and roll!
GPS coordinates of parking area: 41.67554, -73.50819 (Clicking will open in Google Maps or the Apple Maps app, depending on your browser/device.)
Resources & Interactives
Super-cool Google Earth flyover of hike route:
Google Terrain Map of hike route:
Related resources: If you’re looking for actual facts and/or useful information, visit these resources:
- A great Bull’s Bridge trail guide for a very similar stroll from the always-helpful Berkshirehiking.com
- A much longer stroll, including the section of the Appalachian Trail detailed above, from the New York-New Jersey Trail Conference
- The copious TripAdvisor.com reviews of Bull’s Bridge
- The Naromi Land Trust homepage for more information on the Herrick Trail Preserve and other awesome natural places that this trust helps protect
- A brief history of Bull’s Bridge from Housatonic Heritage
Want to support trails in the Hudson Valley? Here’s one great way: Visit the New York-New Jersey Trail Conference homepage and click on Volunteer, Donate, or Shop! (Then you can volunteer, donate, or shop, depending on your mood.)

This is so interesting. I grew up here, and we used to swim at Bull’s bridge all the time as teens. I went somewhere today that reminded me of it, so I decided to look up BB today to see how it was doing, and it looks like they won’t let you swim there anymore? I saw the links to the unfortunate drownings, I’m guessing that is why it is prohibited now.
Hi Mike! Great info…we just drove thru and as you said it’s beautiful…heading back tomorrow…can we bike ride along the trails?
Hi, Christine! Thanks for the kind words, and I hope you have a great trip there tomorrow. I want to say no, biking is not allowed there, but I’m not 100% sure. Biking in general is not allowed on the Appalachian Trail, and I’m *almost* positive it’s not allowed here, though I’d appreciate it if anyone with more knowledge of the rules here would chime in. Hope that’s helpful!
We did this on Saturday, and it was great! The first hike of the season without micro spikes. (Also, I see that a commenter mentioned that it was closed. It was open as of this weekend!)
I didn’t read the trail guide carefully enough to discourage my husband when he said “Hey, let’s follow these yellow blazes!” when we got to the AT camp site, so we did!
I think this is an honest-to-goodness trail (evidence of maintenance), and it was really, really lovely. You follow the river closely, which is fun, and the forest is the fern-y, moss-y, cliff-y forest that you just don’t get in the midwest where I grew up. Right now, there are still quite a few frozen waterfalls on the cliffs above. We loved it.
If this is, in fact, a trail, I recommend it! If not, apologies for our poor land stewardship… but I really think it is!
Sarah, thanks so much for this helpful comment! I was wondering about the situation here, and am so glad to hear that it’s open again. That (probable) trail sounds gorgeous — I’ll have to check it out one of these days! Many thanks and continued happy adventures to you!
**CLOSED!!** As of today (July 9) — drove from lower Westchester in, and parking lot is closed by “temporary police order”, second lot also taped off and signs posted all around the streets for any reasonable distance — trail is also marked closed (although AT is accessible, so hike is possible)…don’t try to park in the deli around the corner either – very unfriendly types. Luckily after such a long drive, I was able to go up the road a few miles and hop on the AT northbound so I got some good hiking in, but no river or views…not sure why it was closed, or when it might open… 🙁
Thank you so much for this update, Patrick! I’m so sorry you had such a bad experience there, but glad you were at least able to get some hiking in. I’ve updated this site’s closure page (https://hikethehudsonvalley.com/hudson-valley-trail-closures-and-parking-restrictions-due-to-covid-19/) with an update and a link to your comment. Hopefully this will help others to avoid the same fate — thanks for taking the time to let us all know! Here’s wishing you smoother adventures from here.
Closed as of 12/6/20, disappointing, but you can actually get to the camp from the other direction, parking on rt 55 and heading east
Mike: Your guides are always helpful, but this is one hike for which your guide is essential. Although, if you go on a summer weekend, I’m sure there’s no problems since this place must be inundated with twelve-pack guzzlers.
Fortunately, I visited during a weekday in early March and there were only a few others around. Anyone who goes during the quieter season needs to take this guide with them. The maps in the parking areas were completely confusing/worthless to me. They do a good job of telling you what you can’t do here, but they don’t really explain where you CAN go. Fortunately, there’s Hike the Hudson Valley to the rescue. This guide saved me from wandering aimlessly. Thanks Mike!
As explained here, this is a beautiful spot to view rushing water and to explore a section of the App Trail. A camp fire was still smoldering at the shelter.
Unfortunately, too easy to pay the HHV “fee.” I picked up a plastic water bottle cap, tag from someone’s gear, and an unused fast-food dipping container. Why?
Trailhead closed as of 10/5/2020!
Here are the other options
Jenn, this is really helpful, thank you! I’ve updated the site’s closure page with a link to your comments. Really appreciate it!
Dave, I really, really appreciate the kind words here, and am so glad to hear that this trail guide was useful to you. (And thanks for being one of the good guys and paying the fee by picking up the trash of people who really should know better!)
Thanks for the great step by step! We hiked to the peak of 10 Mile Hill today in perfect weather! Your descriptions were spot on!
Hi,
There is also a small roadside parking area where the Blue Trail meets the road (corner of Bulls Bridge Rd and Schaghticoke Rd). There is space for about 3-4 cars.
Hi,
There is also a small roadside parking area where the (Edit:) AT meets the road – corner of Bulls Bridge Rd and Schaghticoke Rd. There is space for about 3-4 cars.
(Edit:) This is where the AT and the road meet, not the blue trail. You can still go on the AT from here, but it is not what the trail guide says. SORRY again!
Sorry, this is where the AT meets the road, NOT the Blue Trail. You can still (if you use this parking):
a. Use the AT
b. Walk about 0.3 miles down the road to the blue trail
Is the path for bulls bridge ok for strollers? Trying to find a walk to inlcude for my friend and her child.
I really want to say “yes,” if it’s a beefy stroller like a BOB or similar, but it could be a bumpy ride in spots. If my memory serves correctly, though, it could be doable as far as the Anderson Memorial Bridge, but not past that point. (And if my memory is serving incorrectly, please accept my preemptive apology!) Hope that helps!
Do you know if Bulls Bridge is open in January ? The All trails app says it’s only accessible March -Oct…
My wife and I just found your site we love it thanks so much for the insight.
Thanks for the kind words, Matty! Most of this hike follows the Appalachian Trail, which doesn’t close, and I can’t imagine the bridge itself would close. I’m just going on a hunch here, but my best guess is that the March-Oct designation is meant to warn people that the parking lot will not be plowed in the event of snow. Perhaps they are chained off, too? Sorry I can’t give a definitive answer here, but my best guess is that the trails are open, and the parking in the winter may or may not be an issue. Look how helpful I am! If anyone can shed more light on this one, please let us know!
Hi, I’m coming to from NJ to hike this with friends who live in the area. They are novice hikers, so hopefully a 4 mile hike will be okay for them.
I don’t see any trail maps online, and different websites give different directions. Just to confirm, if we park at Bull’s Bridge, we can do the river walk, end up on the AT, check out all the sights, and loop back somehow to Bull’s Bridge, under 4 miles right?? I am confused about Ten Mile Hill- not sure if that adds mileage.
….do you know if there is a trail map at the location that may help us understand the loops vs out and backs? THANK YOU
Hi Kristina! I don’t know of any good maps for this section of trail, though I’m sure there must be some out there, since this runs on the AT for a good portion of the hike (or just about all of the hike, depending on how you do it). If you read all of Step 10 (I know I put about 1,500 more words into this trail guide than I should have), it’ll explain the mileage a little better — 2.6 miles roundtrip if you turn around at the bridge, at least 5 miles if you go on to the overlooks. You can also get an idea of the route described above by clicking the link in the “GPS goodies” section at the top. Hope that helps!
FYI Google Earth Flyover seems to be linking to somewhere in San Fran.
Dang it! I thought I’d scrubbed all those links off the site. I’d created about 50 flyover videos for the hikes using this cool service from MapMyHike.com. Last year, they discontinued the service with no warning, and all those links started pointing to San Francisco for some reason. Sigh. Thanks for the catch! That link is deleted now.
This was an A+ hike! We went on a tuesday morning and only ran into a few groups of through-hikers on the AT. At step 11, I was looking forward to a “bonding and flailing” experience with my 60 lb pup but instead, he pulled a daredevil stunt and leapt off the top of the staircase to the ground. I think we are going to take up agility, lol. Thanks for the great info! We’ve done several of the hikes you’ve posted here and have loved them all!
Did you hit Kent Falls just up the road from here?
Hey, Jeff! I have been there before, but not on this trip. Another awesome spot that folks should check out if they’re in the vicinity – thanks for the thought!